One of the most useful home automation devices for homes with working parents and children in school is a smart door lock. These provide advanced security for your home and the convenience of smart home integration for its occupants. When adding home automation, this is one of the first devices that you should consider. Just like most automation devices, there are a lot of options and finding the right device can be a challenge. This is a review of my experience with the Yale Real Living Touchscreen deadbolt with the Z-Wave module.
Overview
The Yale Real Living deadbolt was purchased on Amazon but it is carried in many of the big box home stores. I purchased the Z-Wave version but Yale also has Zigbee and Bluetooth options. Yale differentiates these models by way of a plug-in network module. I am reviewing the version that has a key (YRD220), however there are options without the key if you prefer. Also, this review has been brewing for a long time and Yale has released a hardware update to the lock with a new name - Yale Assure (YRD226). It functions the same as mine, however the privacy button has moved and the touchscreen icons in the bottom left and right corners have also changed. I am not aware of any significant functional differences other than these between the old and new hardware versions.

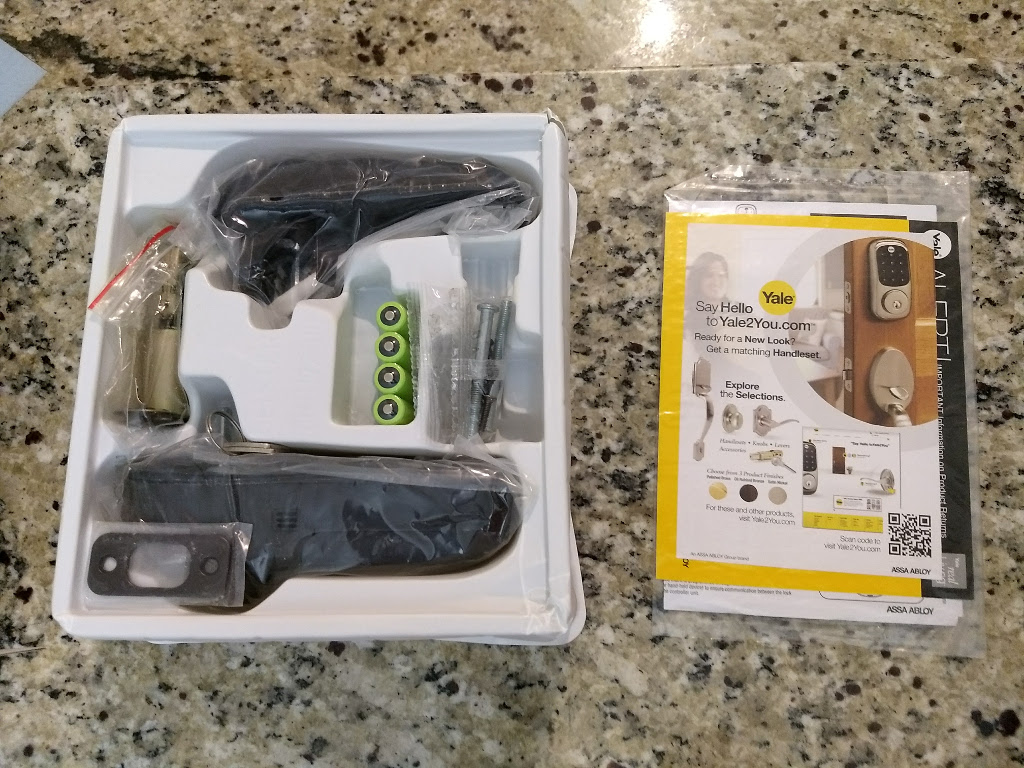
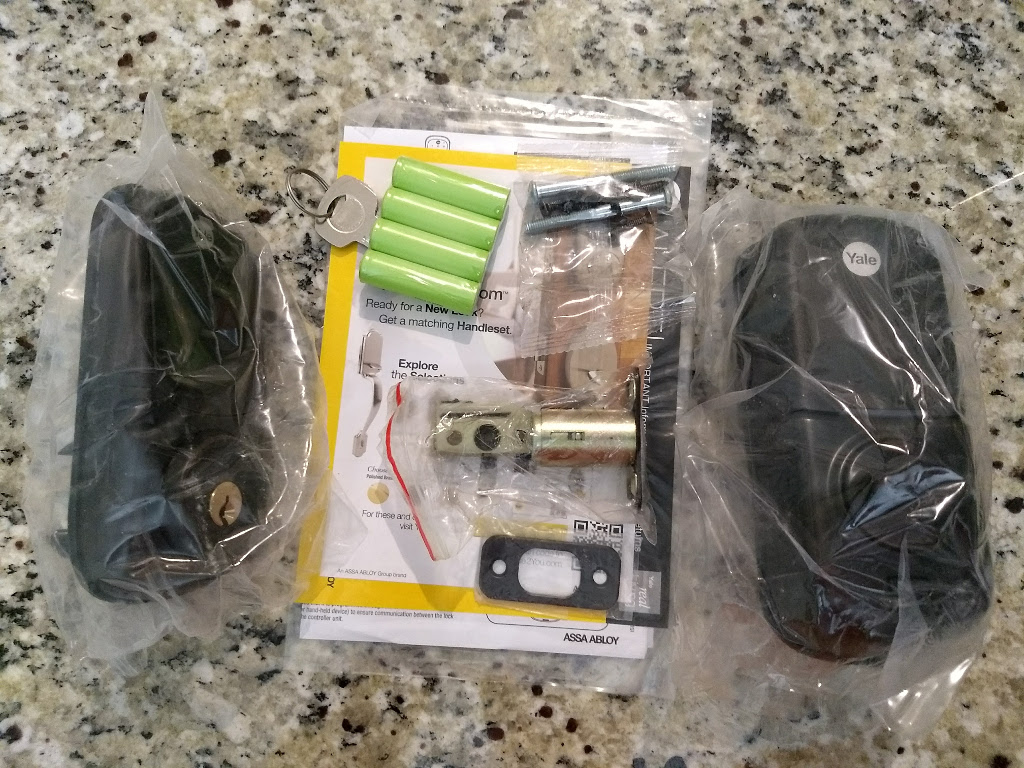
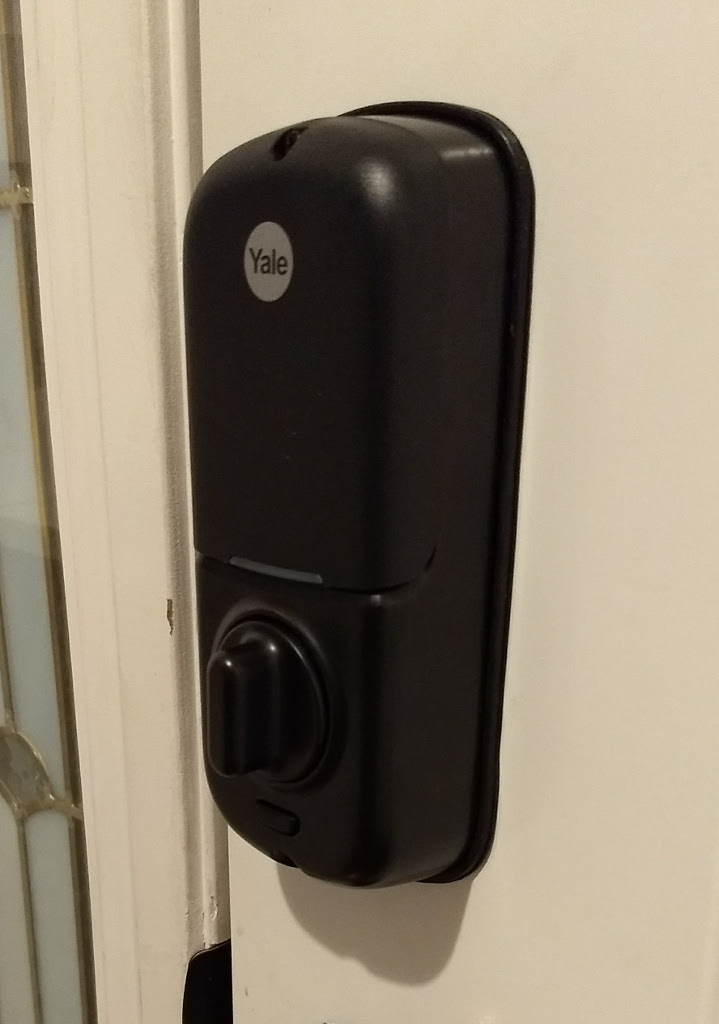
The Yale Real Living Touchscreen deadbolt lock has a nice capacitive touchscreen and no physical buttons which gives it a sleek, modern look. Its powered by 4 AA rechargeable batteries which are included. I got about 4 months of use on the first charge. You’ll need a way to charge the included batteries or you can switch to using standard alkaline batteries. The device is solid and feels well built, which is reassuring for the device that controls entry into your home. This lock feels much sturdier than the one it replaced.
Installation
Installation is about as easy as any other deadbolt install. Yale provides some handy videos to guide you through the installation and the manual is fairly descriptive of the process. The install took me about 30 minutes, and I did not encounter any issues. If you follow the manual through the installation you should be able to install it on your own, however, as with any home upgrade project, if you are not comfortable with basic tools consult a professional to do the job for you.
There are a couple of things to be aware of when performing the installation. First, the Yale device only works with doors that have a 2 1⁄4” diameter bore hole with a 1” diameter cross bore hole. It will work with doors that have either 2 3⁄8” or 2 3⁄4” backset measurements. One other issue that you may encounter during installation is that the deadbolt for the Yale lock may extend further than the deadbolt it is replacing. If this is the case you will need to drill out your doorframe to ensure that the Yale deadbolt can extend fully when locked, otherwise it will report an incorrect state.
Setup
After installing the batteries you are guided by voice prompts to create a master PIN code. The lock will not function until a master code is registered, and you can’t program any of the other features. Once the master PIN is programmed you can create up to 250 user codes. I only used a single code, so I didn’t test using a multitude of user codes, however this feature can be handy if you need to track specific people who enter your home.
The lock has many other features that can be configured such as audio volume, motor speed, automatic re-lock, and privacy mode. These settings can all be programmed through the touchscreen using the voice prompts. The feature tree is a bit confusing so keep the manual handy, but the voice prompts do help. The generic device handler in SmartThings does not allow manipulation of any of these settings.
SmartThings Integration
I started by using the default generic smart lock device handler provided by SmartThings. This is the device handler that is used by default and it only includes basic capability to lock and unlock the door. This functionality works fine but lacks any advanced features such as changing the volume, pin codes, motor speeds, etc. With that said, the basic functions are what I use most of the time so I didn’t feel a need for much more.
The Amazon page for the lock advertises Alexa integration and that appears to work without issue. One thing to keep in mind is that Alexa and Google Assistant will not unlock the door with voice commands.
Problems and Solutions
One problem I encountered after installation is that the lock status was sometimes incorrect (i.e status displayed as locked when unlocked), but otherwise the device handler worked to lock and unlock the door. Searching the web for “incorrect device state issue” revealed that other SmartThings users also experienced this issue. User yracine built a device handler with correct Z-Wave timeouts for this lock and published it. However, I still had the issue after switching to yracine’s device handler.
After more searching I found another user on the SmartThings forum that discovered that if the deadbolt was not completely extended then the device would report an incorrect state when locked. After drilling my door frame out about 1⁄8” the deadbolt was able to completely extend and my problem was solved. I have not encountered an incorrect state issue after this fix.
Conclusions
The Yale Real Living deadbolt is a well built, sleek device that handles the basic tasks of securing your home well. My family uses it everyday and we have not encountered any problems other that the initial issues described above. The one touch lock feature is great and it makes locking up on the way out a breeze. Code entry on the touchscreen is quick and efficient. I have this integrated into several SmartThings activities such as automatically locking at night to provide better peace of mind. There are a lot of smart lock options on the market, but I would not hesitate to recommend the Yale Real Living touchscreen lock.