Most homes, mine included, are still a combination of old devices which lack any decent connectivity options like WiFi, Bluetooth, Z-Wave, etc. and an assortment of smart devices. My home still has TVs, a Soundbar, Audio Amplifier, and DVD Player that can only be operated using an IR remote control. Most of the time the remote is lost when I need it and in the way when I don’t. These devices don’t have any tie-in with Google Assistant or Alexa, but they can be controlled using an IR blaster. Logitech makes a smart IR blaster, the Harmony Hub and smart remote, but these are a bit expensive. Broadlink has a line of low cost IR blaster devices, but these don’t integrate with Google Assistant. I found the $17 Broadlink Mini 3 IR blaster, which is also known as the Black Bean beacuse it is a small, black cylindar. It is low cost, and includes a bare-bones app, but it does not feature smart integrations. This article will describe a way to integrate the BlackBean with your Google Home and enable voice control for your legacy IR devices.
Opening the box
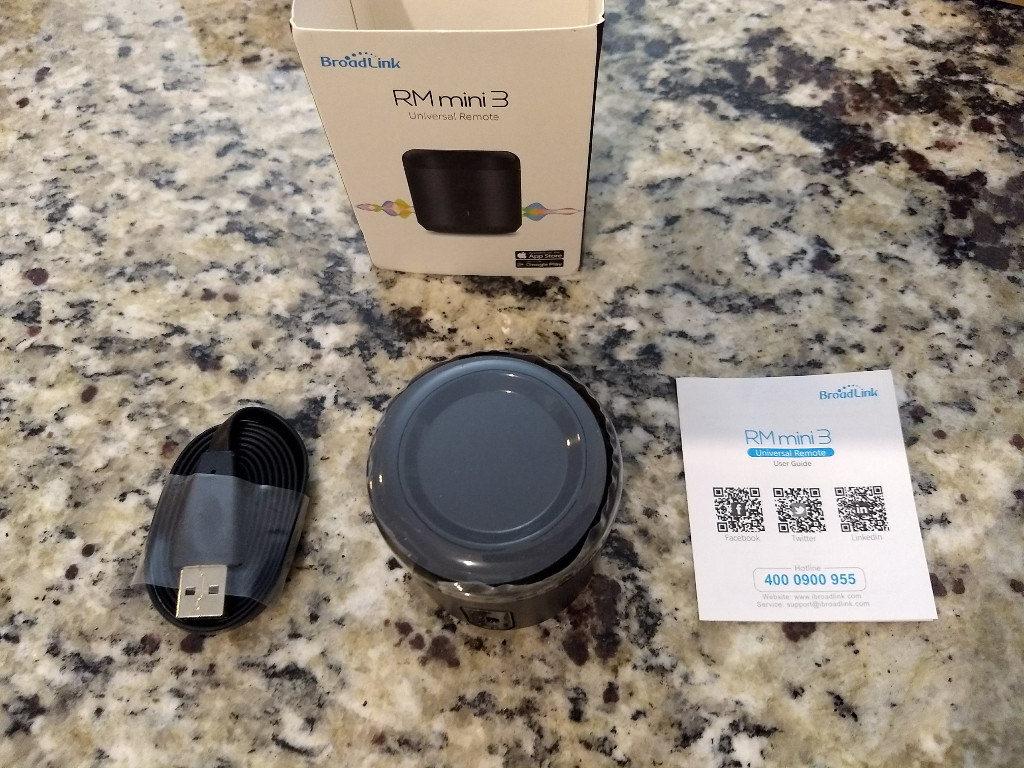
The box includes the Black bean device, a micro USB cable and a compact instruction manual. It doesn’t include a wall adapter, you will need to provide a USB port to power the device. build quality is good, but not great. The IR emitters are on the top, giving it a 360 degree field of control and it has a single LED to provide basic status.
Putting it to work
Achieving Google Voice integration requires the use of several software components. IFTTT provides the Google Assistant integration which calls a URL provided by WebCore. WebCore triggers a local HTTP REST API which uses the Python BlackBeanControl program to send commands to the IR blaster. It sounds complex, but works very well.
Integrating the Broadlink Mini 3 will take a few steps:
- Install on your network using the Broadlink IHC app
- Setup local control and HTTP listener service
- Setup WebCore and IFTTT integration
- Teach it your remote commands
Install on your Network
Install the BlackBean on your home network using the Broadlink (Intelligent Home Control) IHC app.
Once you have the BlackBean setup, you can keep the app on your phone and teach it commands, however you will need to re-teach it any commands during step 2.
Before proceeding, log onto your router and reserve the IP address of the Blackbean using the MAC address to ensure that it will always receive the same IP address. On my wifi router this is in the DHCP settings under Address Reservation.
You can find the IP Address and MAC address by looking for a device that has a name starting with RMMINI and some numbers.
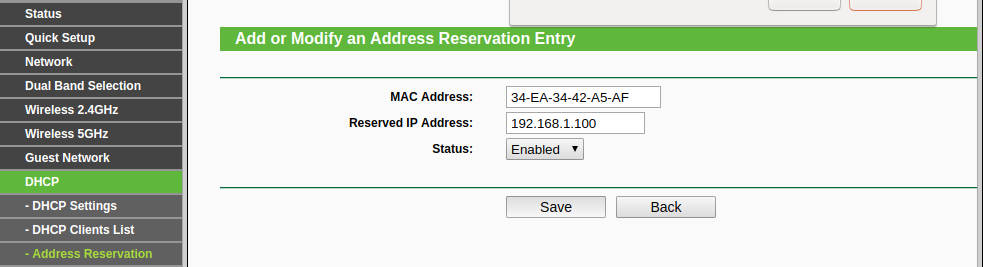 Then setup a IP to MAC address reservation.
So far, I haven’t found a good way to dynamically discover the IP address of a blackbean device, so reserving the address seems to be the best method to use. Save the IP address and MAC address somewhere because you will need them in the next step.
Setup local control and http listener service
This step uses a few python programs to perform the magic. I like to use docker on my local QNAP NAS, but these steps should be easily translated to a Raspberry PI or some other Linux based device.
You will need a folder location that can be mounted in the docker image to host the vital data. Inside this folder run:
 git clone https://github.com/davorf/BlackBeanControl
 git clone https://github.com/avleen/bashttpd.git
 cp blackbean/bashttpd.conf bashttpd/.
Make bashttpd executable: ```chmod +x bashttpd/bashttpd
If you are using Docker, pull in the image and run the container.  Pull the dockerhub image:
```docker pull robotizeit/blackbean
Run it with this command, replacing the data path with your directory where you put the files above:
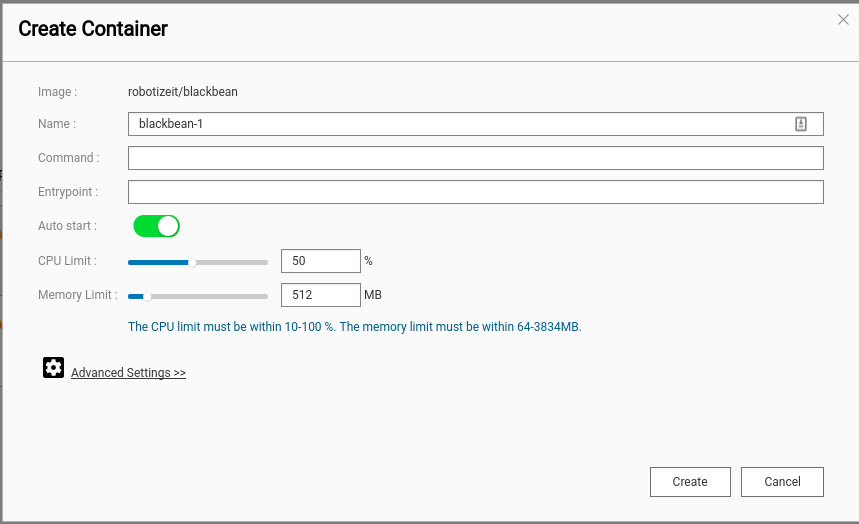
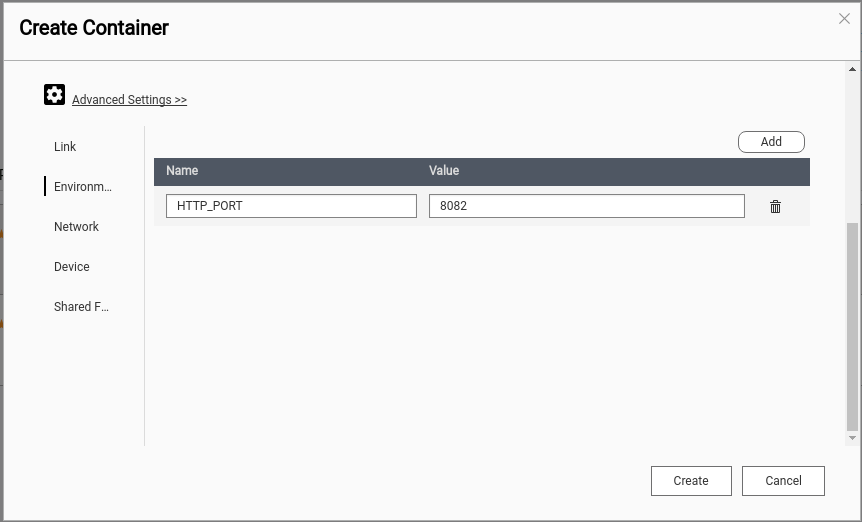
docker run --net host --name blackbean -e HTTP_PORT=8082 -v /some/path/to/data:/data robotizeit/blackbean:0.2
I used the container function on my local QNAP NAS, and set it up using the details shown in these images.


Configure the BlackBeanControl settings
The BlackBeanControl program requires some configuration. In your data directory, under the BlackBeanControl directory, open a file named BlackBeanControl.ini. In the top is a section named [General], here you will need to enter you devices IP address and MAC address. The port will be 80 which is the default, and I changed my timeout to 7, which is the amount of time the script waits when leaning a new IR command.
Setup IFTTT and WebCore integration
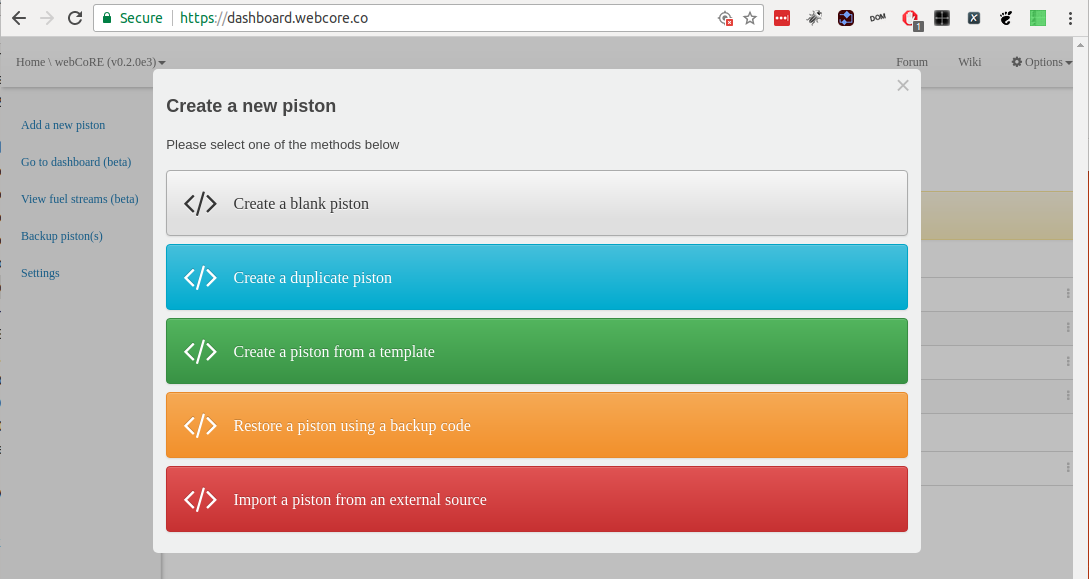
Next step is to setup a webcore trigger. If you haven’t installed and configured webcore yet, follow the WebCore Installation steps and then come back.
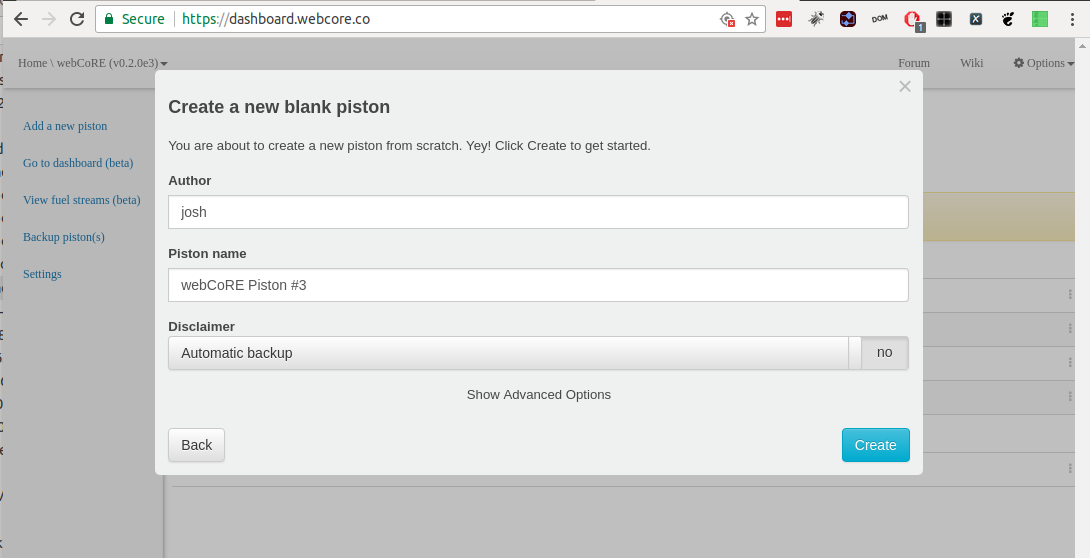
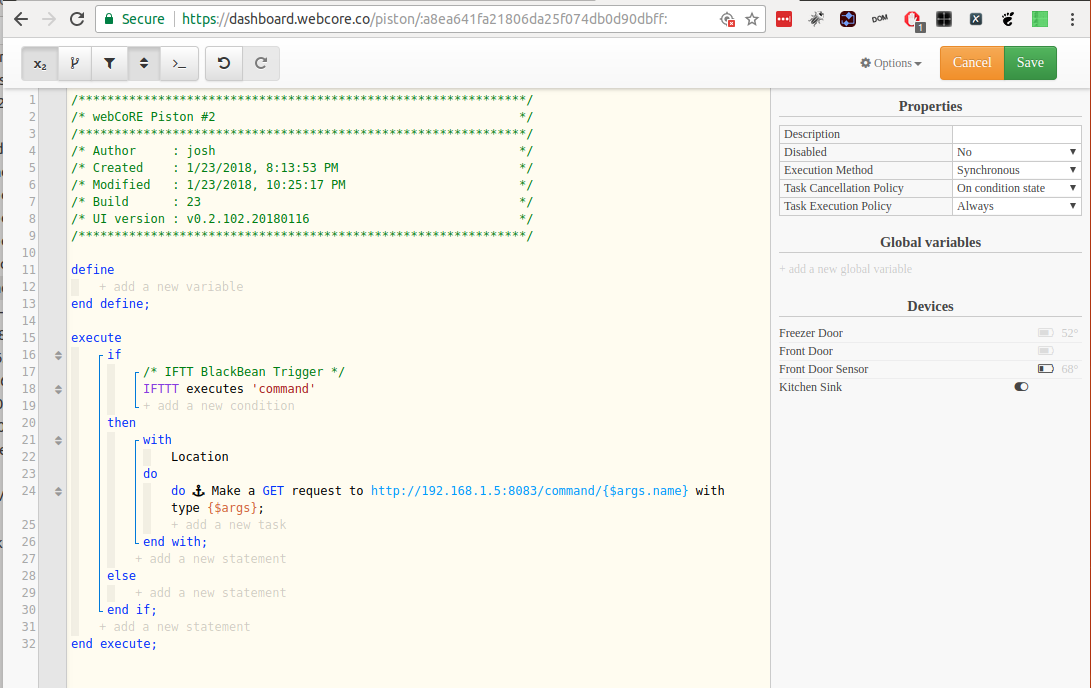
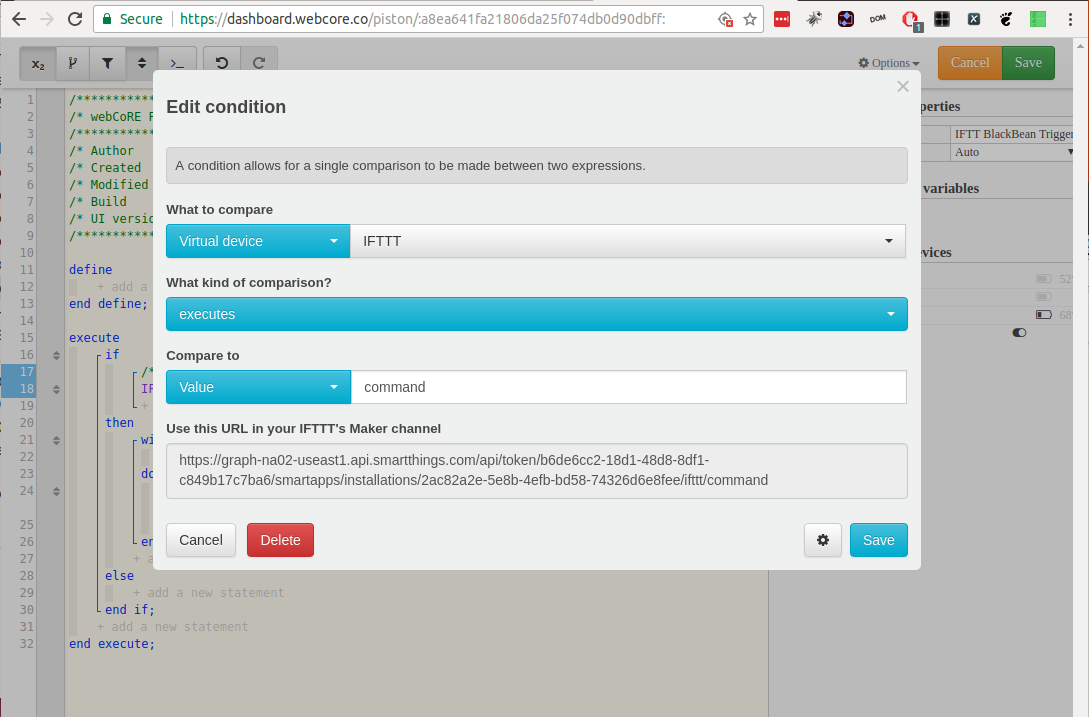
Now we need to configure Webcore. Add a new blank piston, then in the piston edit screen, add a new statement. Under IF condition, use a Virtual IFTTT device and set the comparison to executes, and the Value to command. In the bottom there will be a URL, save this for the IFTTT trigger.
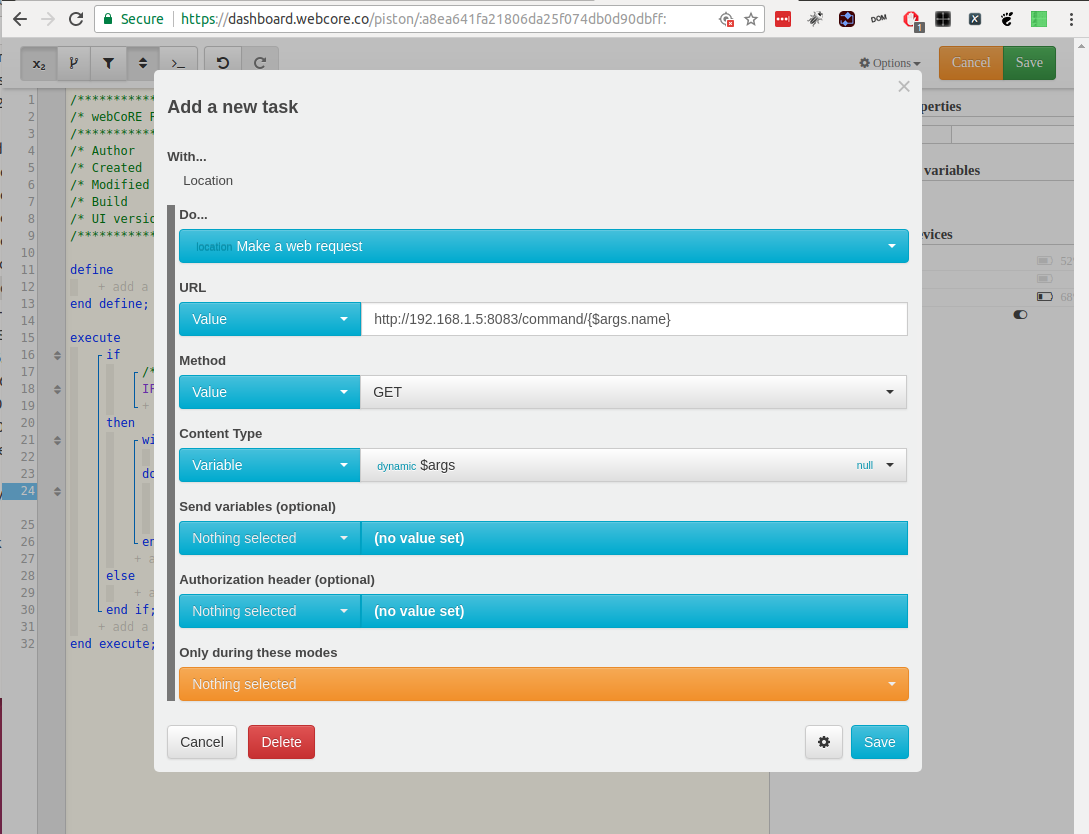
Next add the do part of the statement. Configure the Value URL as shown using your device hosting the bashttpd server IP and port. I used the IP address of my docker container. This request will be executed by SmartThings on your local LAN, so you don’t need to worry about port forwarding or firewalls. Configure the rest of the statement as shown in the last image.

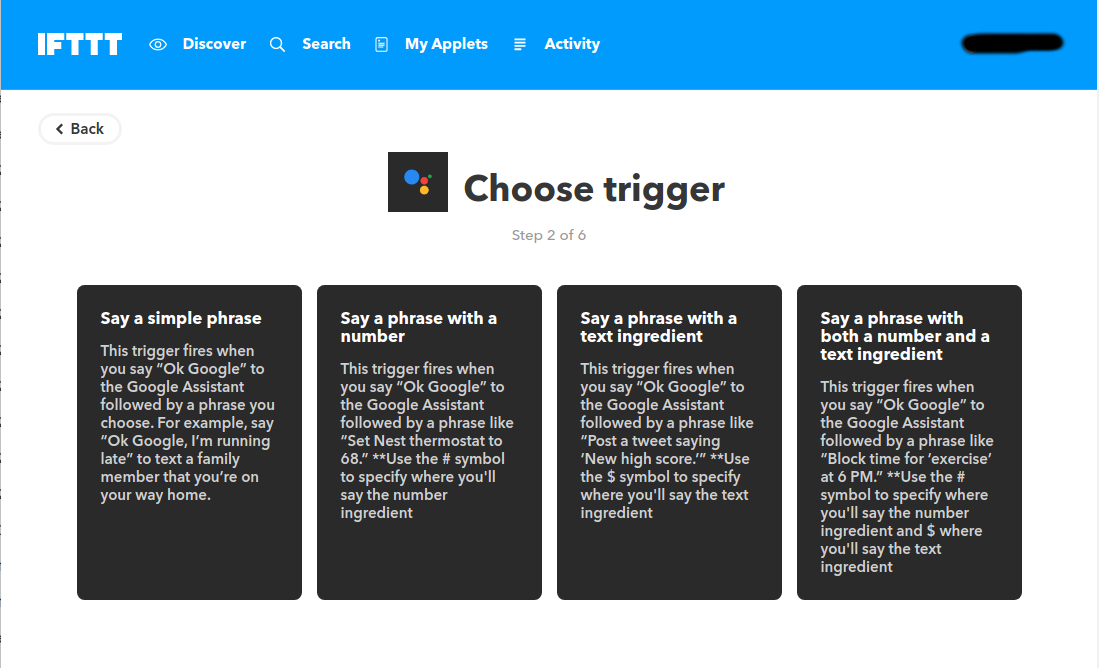
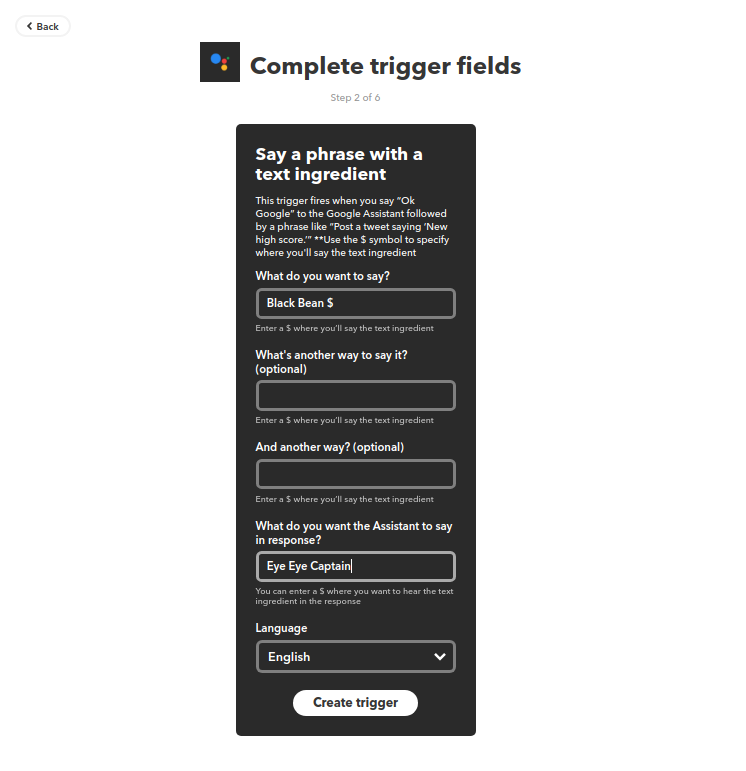
Finally, we can get the final piece setup, If This Then That. Login, and ensure your account is linked to your Google Account. Click the link to create a new Applet. Click on This and search for Google Assistant for the trigger. Choose Say a Phase with a Text Ingredient. Setup your trigger word or phrase and use “$” to denote a variable. I used the phrase “Black Bean” and then the name of a command. The command name will be passed down to the BlackBeanControl program as the name of a command to execute. For example a command might be “Black Bean TV On” or “Black Bean Fan Off”.
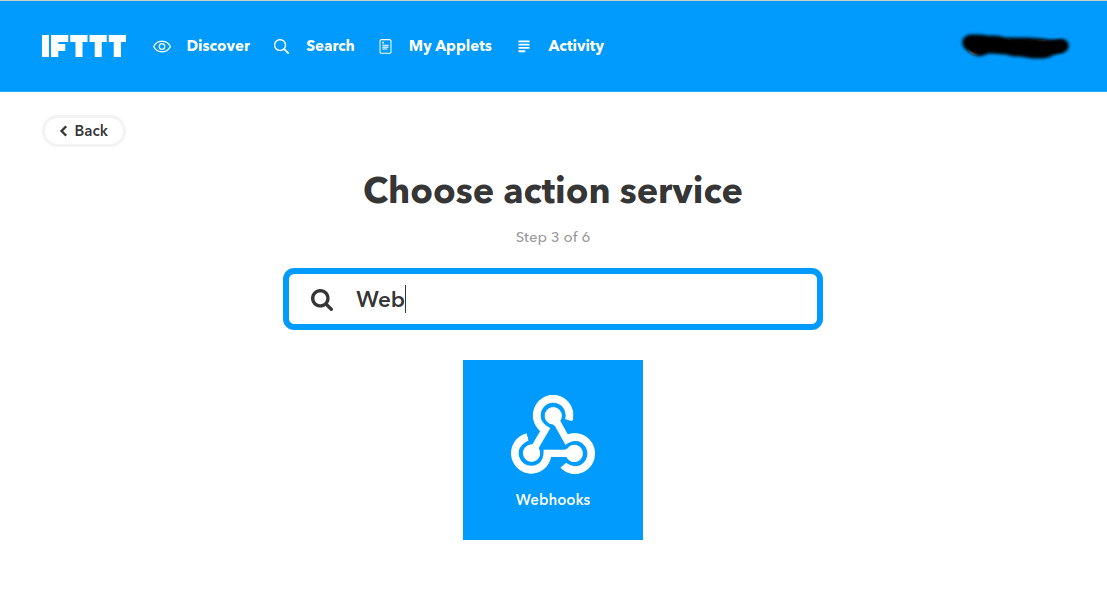
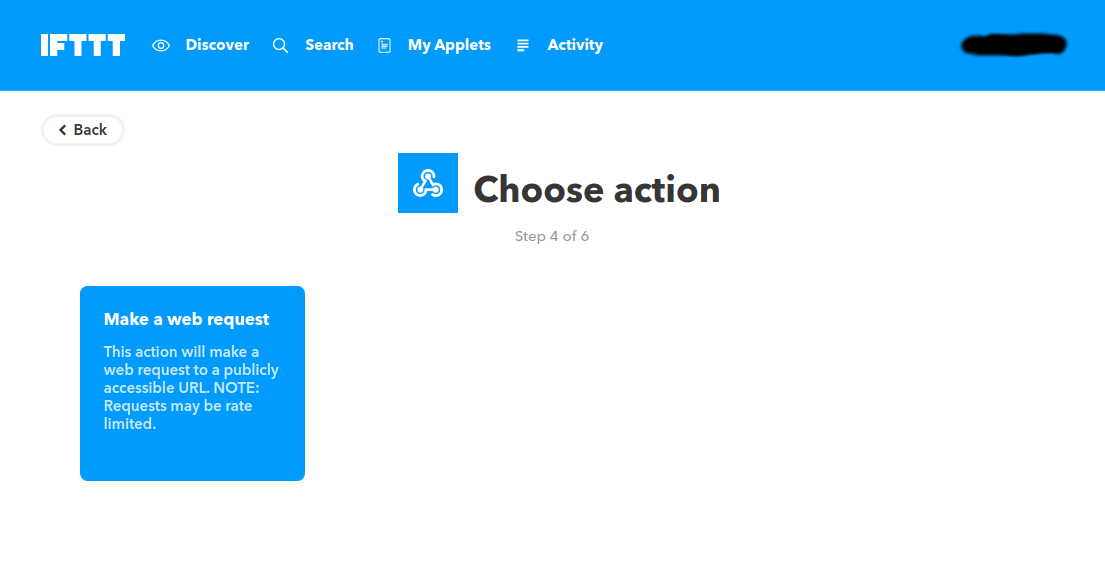
In the That section of the Applet, search for Webhooks, then choose “Make a web Request”. Configure the web request with your WebCore URL from above. Use POSt, then application/json for Method and Content Type. Under body enter “{“name”:“TextField”}“. Then click Create Action.


Now you are ready to program the commands.
Teach it your remote commands
With all of the plumbing in place training and using the Black Bean should be a piece of cake. Here is how:
- Say the key word to trigger the Black Bean and then the function. In my case I used “Black Bean” as the trigger, and if I want to program the TV Power command I say, “Ok Google, Black Bean TV On”
- Wait for the LED on the Black Bean to light and press the button the TV remote.
- Repeat for all of your devices and commands.
Once you have trained a command, speaking it will trigger the action.
Comment below about your experience using the Broadlink Mini 3.